How to Deploy n8n on Render (The Honest, Step-by-Step Guide I Wish I Had)
Jul 17, 2025
There’s a certain moment in every builder’s journey when duct-taping tools together just doesn’t cut it anymore.
You’re juggling content, APIs, workflows, calendars, ideas… and the chaos catches up.
That’s when I found n8n. And then I realized: running it yourself gives you real power.
But most guides? Either too shallow or too cold. This one’s different.
I’ll walk you through every step I took to get a fully working n8n instance running on Render — for free.
🛠️ First, What Is n8n — And Why Should You Care?
If Zapier and Python had a nerdy, open-source cousin who lifted weights, it would be n8n.

n8n (short for “Node Node”) is an open-source workflow automation platform that lets you visually build automations between services — Notion, OpenAI, Gmail, Webhooks, APIs, databases — you name it.
Why it matters:
💻 It’s fully self-hostable (you own everything)
🔗 You can connect over 350+ apps
🧠 It supports complex logic: if/else, branching, loops, variables, and JavaScript functions
💸 And unlike Zapier or Make, you don’t pay per task when you self-host
☁️ What is Render and Why I Chose Render to Host It
When it comes to hosting n8n, you’ve got options:
Railway – fast to set up, free tier exists, but limited control over storage
Supabase – great for Postgres, but not ideal for long-running services
Fly.io – very flexible but needs deeper infra knowledge
Render – the sweet spot for me
Here’s why Render stood out:

Render is a cloud platform that simplifies deployment of web apps, databases, static sites, and background workers. It’s comparable to Heroku in its simplicity, but with modern features and better pricing.
☑️ Free tiers for both web service and Postgres
☑️ Auto-deploys via GitHub with a render.yaml (infra-as-code)
☑️ Simple UI, but production-grade underneath
☑️ You don’t have to manage Docker manually
It’s clean. Fast. And perfect for indie devs and creators who want full control without spending $50/month.
💸 Cost Breakdown (The Honest Math)
Let’s break this down. You can get n8n running for $0 — but with caveats.
Component | Plan | Cost | Notes |
|---|---|---|---|
Web Service (n8n) | Free | $0/mo | Spins down when idle, no scaling or SSH |
PostgreSQL DB | Free | $0/mo (30-day trial) | Must upgrade to $6/mo after trial |
Persistent Storage | Not available on Free | — | You need a paid plan for persistent disk |
Total (After Trial) | Basic DB + Free Web | $6/mo | No hidden fees |
How to stay in control:
🧠 Use Render’s free tier to test, then move to paid DB only
🧹 Clean up test workflows, they eat up DB space
🛑 Set reminders before trial ends so you don’t lose data
🔒 What About Security & Scalability?
Let’s be real. If you’re running automations that touch sensitive data or APIs (Notion, OpenAI, etc.), you want it to be safe.
Here’s what’s good — and what’s not — with this setup:
✅ Safe, if…
You enable authentication on n8n (either via setup user or basic auth)
You don’t expose sensitive environment variables in workflows
You rotate API keys like OpenAI/Notion regularly
🚫 Not ideal for…
Teams of 10+ (user management gets complex)
Processing large files (no persistent disk on free tier)
Scaling under heavy load (requires moving off free plan)
But for solo creators, indie founders, and automation geeks?
This is rock-solid.
🚀 Let’s Get to the Actual Deployment
Now comes the fun part. I’ll guide you step-by-step through everything I did — mistakes included.
Step 1: Create a Free Render Account
Head to render.com and sign up.
Once inside:
Create a new Workspace (e.g.,
automation-stack)Under that, create a new Project (e.g.,
n8n-instance)
Organizing this from Day 1 helps once you scale.
Step 2: Create Your Postgres Database First
Render gives you a 30-day free trial on Postgres.
Go to Databases > New PostgreSQL
Set:
Name:
n8n-dbRegion: Closest to you (e.g., Singapore if you're in India)
Plan: Free (will expire in 30 days)
Leave other fields blank — Render generates credentials for you
Hit Create Database
Once done, note down:
Hostname
Database name
User
Password
External DB URL
We’ll need this later.
Step 3: Fork the Blueprint Repo
Render supports deploying infra from a single file — render.yaml.
Click Use This Template → Create New Repository
Name it something like
render-n8n-blueprintKeep it private or public — your choice
Step 4: Customize render.yaml
This is the heart of the deploy.
Update these fields:
Step 5: Create a Blueprint on Render
Go to Render → Blueprints
Click New Blueprint
Select your GitHub repo with
render.yamlName it something like
n8n-deployDeploy.
You’ll see it spin up both:
The web service (n8n)
The database (already existing)
Step 6: First Login – Don’t Get Confused
Once deployed, visit:
You’ll likely see a /setup page asking for email, password, etc.
This is new behavior in recent versions of n8n.
👉 Just go ahead and register yourself as the admin.
No need to fiddle with basic auth anymore.
Step 7: Activate Free Advanced Features
You’ll be prompted to activate a license for:
Workflow versioning
Execution history
Folders
This is free — grab the key via email and enable it.
Takes 10 seconds. Totally worth it.
🎯 Use Cases for Self-Hosted n8n
Once you're inside, what can you do?
Here are a few starter ideas:
Use Case | What it Automates |
|---|---|
Content Idea Engine | Daily prompts → platform-ready posts |
Notion to Newsletter Pipeline | Notion table → Email via ConvertKit/Substack |
Quora to Blog Post | Scrape top questions → Generate posts with GPT |
YouTube Auto Description Generator | Title + tags → Description & hashtags via OpenAI |
Lead Generation Workflows | Form submission → CRM update → Email sequence |
🧩 Pro Tips from Experience
Enable SSL on Postgres — n8n expects it
Set up webhook tunnel (optional) for local workflows
Don’t forget to upgrade DB after 30 days, or you lose data
Use folders + tags once you have 5+ workflows
💬 Final Words
This guide wasn’t just about spinning up another tool.
It’s about taking back control of your stack. Owning your automations.
And learning to build systems that don’t break the bank — or your brain.
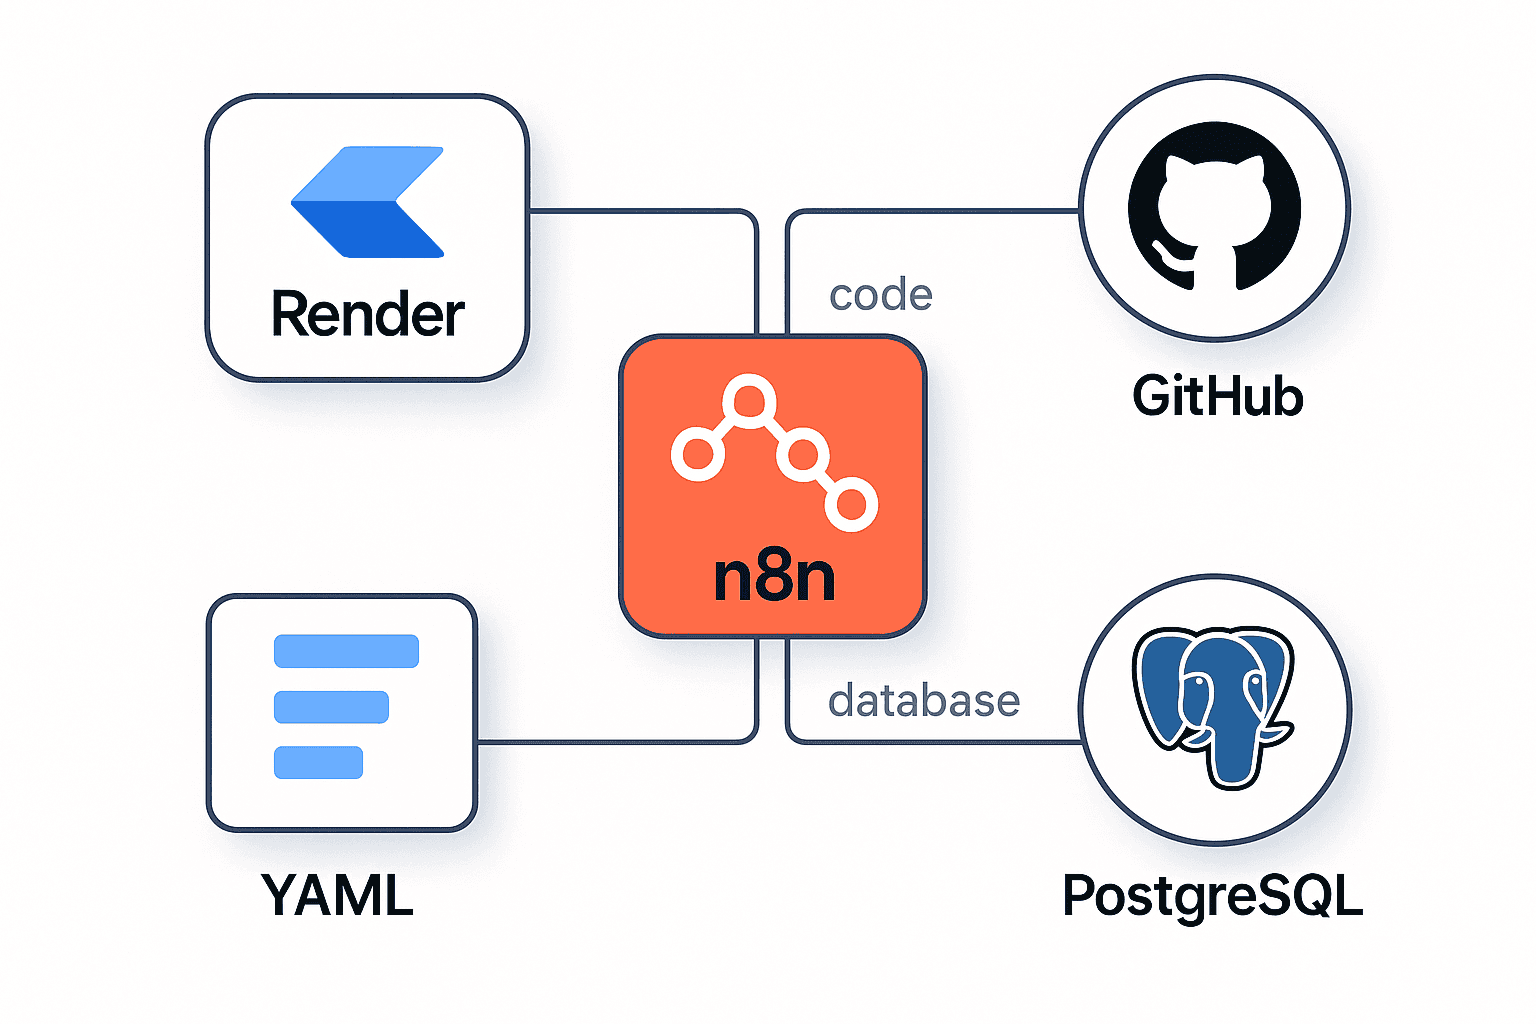
Render + n8n is one of the best entry points into self-hosted automation.
I hope this post made it feel a little more doable, a little less cold, and a lot more exciting.
When you build something cool on top of it — let me know.
Related Post
Latest Post

Tech founders don’t struggle with ideas — they struggle with context switching. This deep dive expla...
Mar 2, 2026

Subscribe Us
Subscribe To My Latest Posts & Product Launches